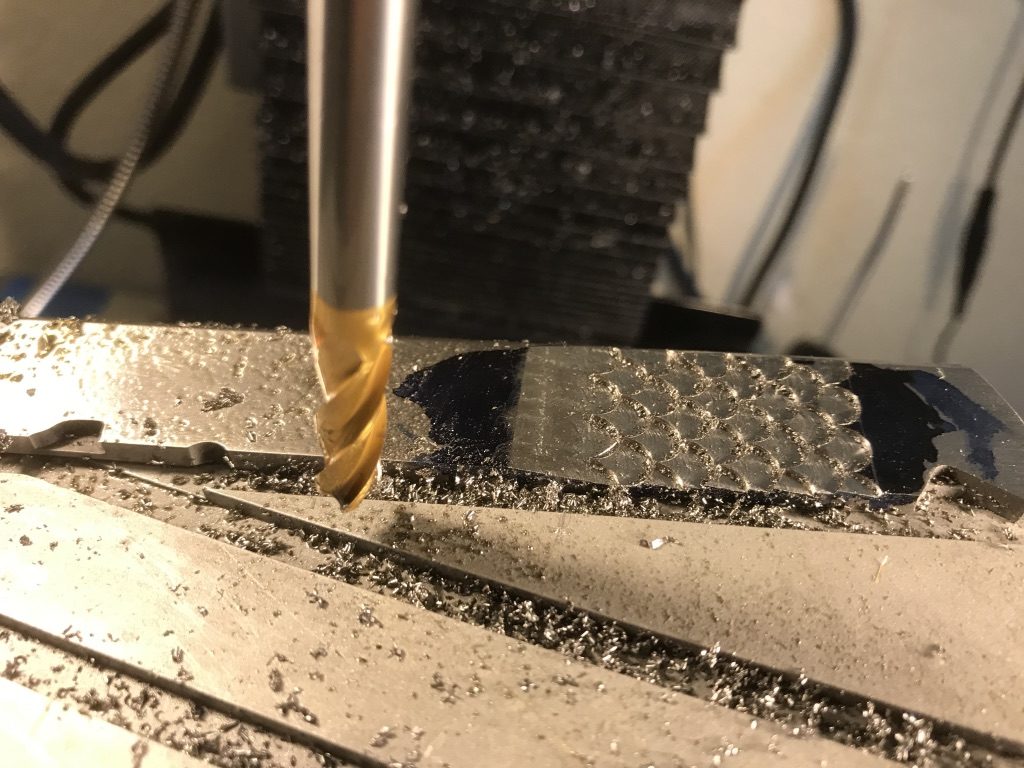
I started cleaning up the slide with face mill and noticed that it leaves very deep tool marks. Obviously, either I was doing something wrong or the tool was not the right one of the job. Most likely, all of the above. So I used various grits of sandpaper and a lot of elbow grease and ended up with a relatively smooth surface.
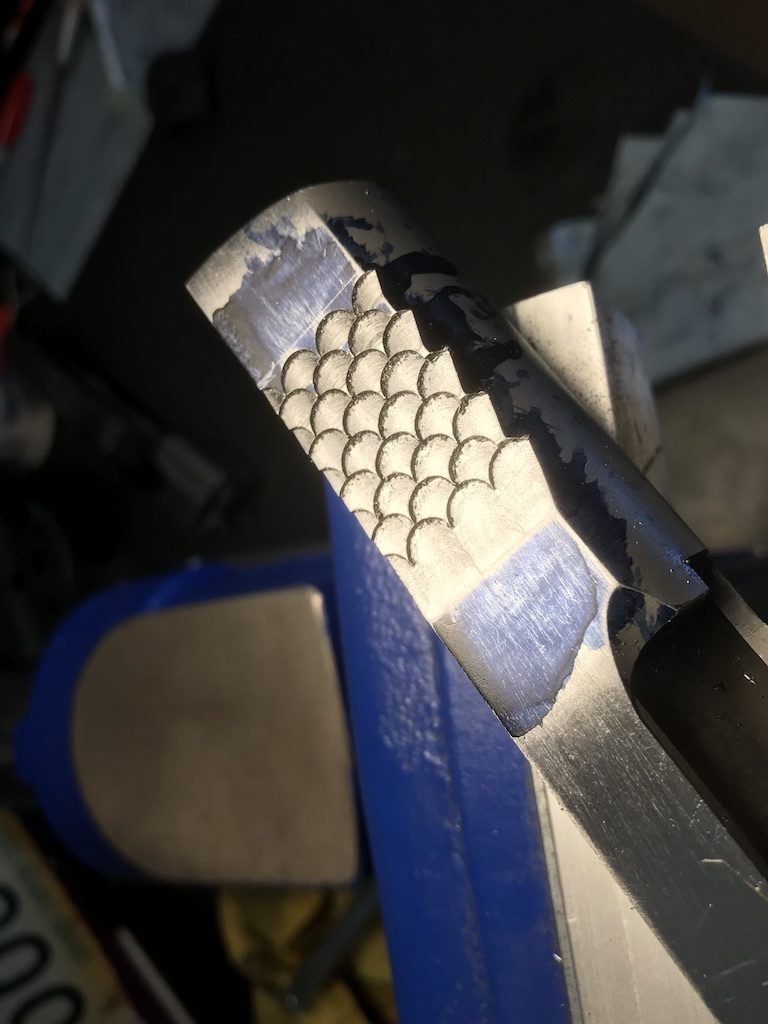
The fish scale serrations was a whole different story. I did some math to figure out the angles and lengths of cuts, but decided to experiment on my old beat up slide first. Glad I did! I had to make quite a few changes to my calculations until I got the pattern I wanted. This morning, after a few final checks I finally started working on the slide.

It took me about 2.5 hours to get both sides done. Of course, I could just buy another slide from Caspian, they only charge $110 extra for the fish scale pattern. But it does feel darn good knowing that I’ve done something I have never done before and I figured everything out by myself (I couldn’t find any tutorials online).
OK, so here’s a short recipe for those using biological CNC controllers on their mills (as opposed to the electronics, step motors and CAD/CAM software 😉
First, secure the slide on the Yavapai fixture, put it in the vise at the 9.1 degrees angle. Use 1/4″ end mill for the cuts. First, touch the back of the slide and then move the table 0.9874″ along the X axis – this will put the first cut at about 3/4″. Zero the X axis DRO. Then touch the bottom of the slide and move the table up 0.0945″. This will be the Y axis zero. Finally, touch the surface of the slide, zero the Z axis and start making cuts 0.025″ deep, shifting half the diameter of the endmill (0.125″) up and left for the odd rows and down and left for the even rows. Make 9 rows total.
Now toss the slide in the garbage and start over. Or get a CNC machine. Or just order a slide from Caspian 😉

Stay tuned for part III.