A friend of mine recently got a nice Smith & Wesson Model 52 and started looking for options to mount an Ultradot on it. One of the best possible options was the BME slide mount, but unfortunately BME is out of stock at the moment. Well, said I, challenge accepted, if I cannot buy it, I can make it!
The first step was to figure out what dovetail angle does the model 52 have. The Internet search, unfortunately, did not yield any concrete answers, so I found an old S&W rear sight and tried to take some measurements. Well, after a long trial and error process it turns out the angle is precisely 74 degrees.
OK, I feel obligated to create a separate paragraph just for this, and make it easy for the search engines to find it. The Smith & Wesson 52 rear sight dovetail angle is 74 degrees.
So I got my Glock dovetail cutter ready (but please don’t ask me what does a Glock dovetail cutter do in my toolbox. Just don’t).
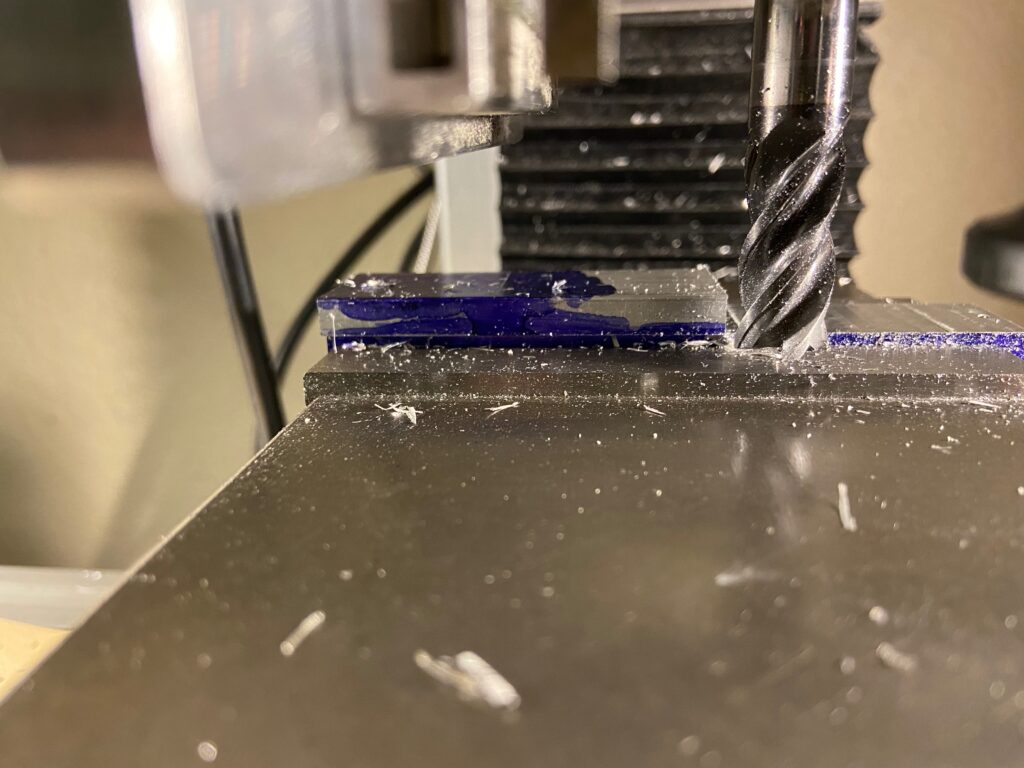
I started removing some bulk material from the stock. And removing. And removing. And cutting. And machining. Rinse. Repeat. One of those moments when I wish I had a Bridgeport in my garage. My little PM-25 machine is, well, just too little. But I managed to get it done in reasonable time and ended up with a huge pile of shiny aluminum chips on the table.
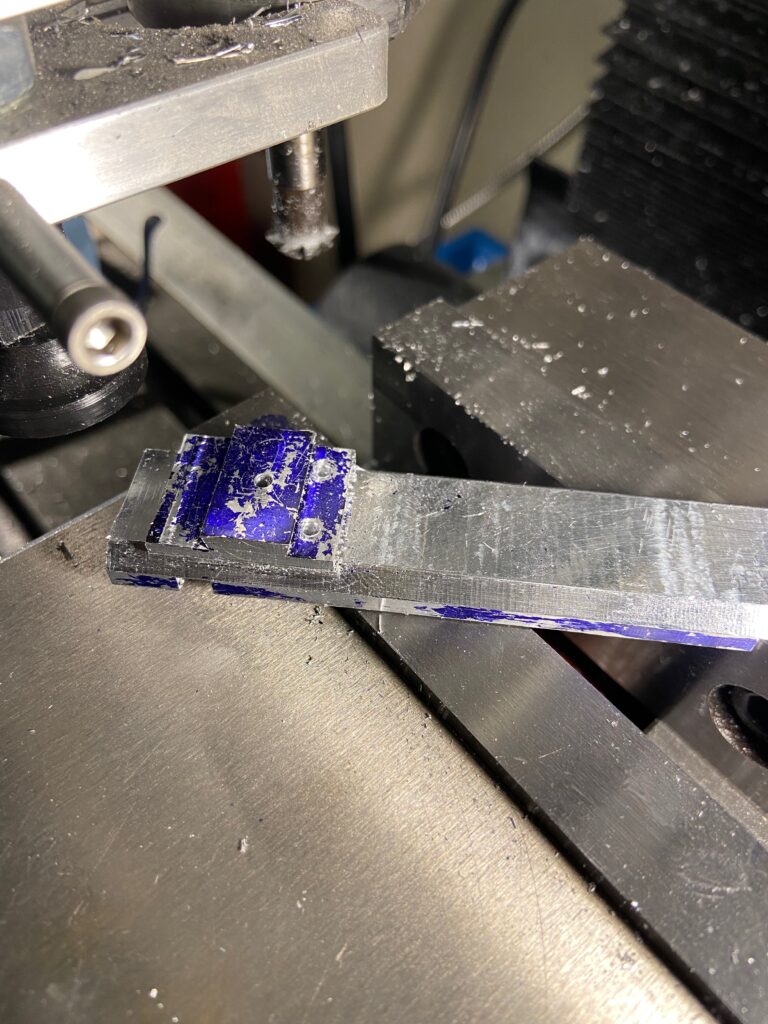
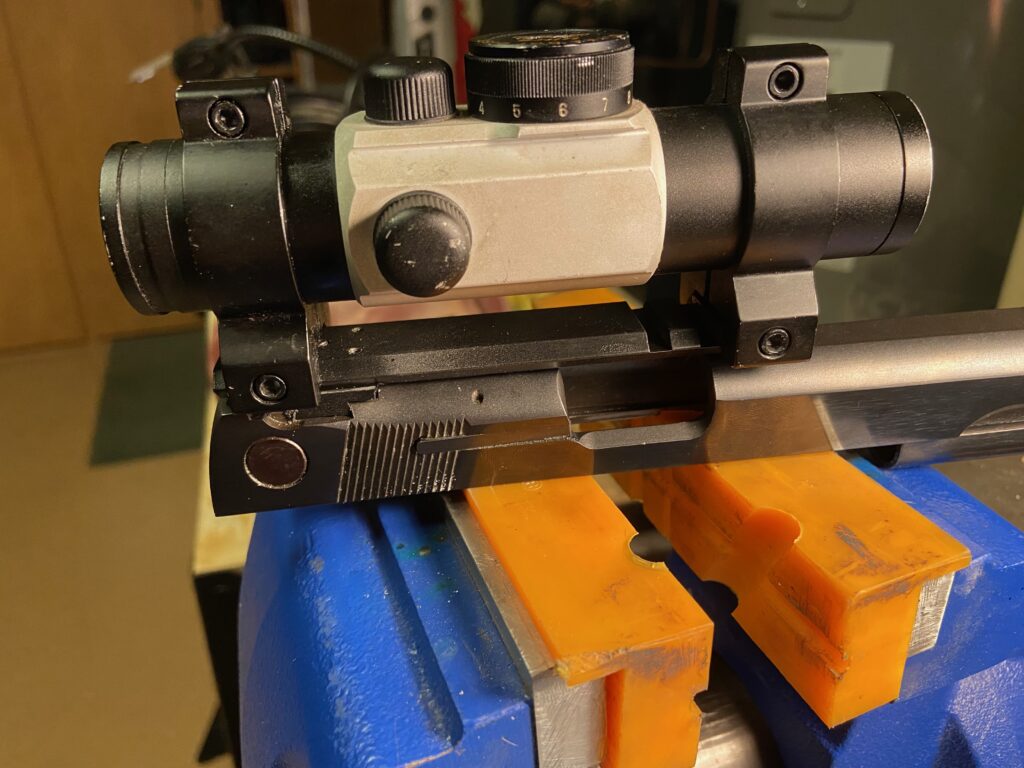
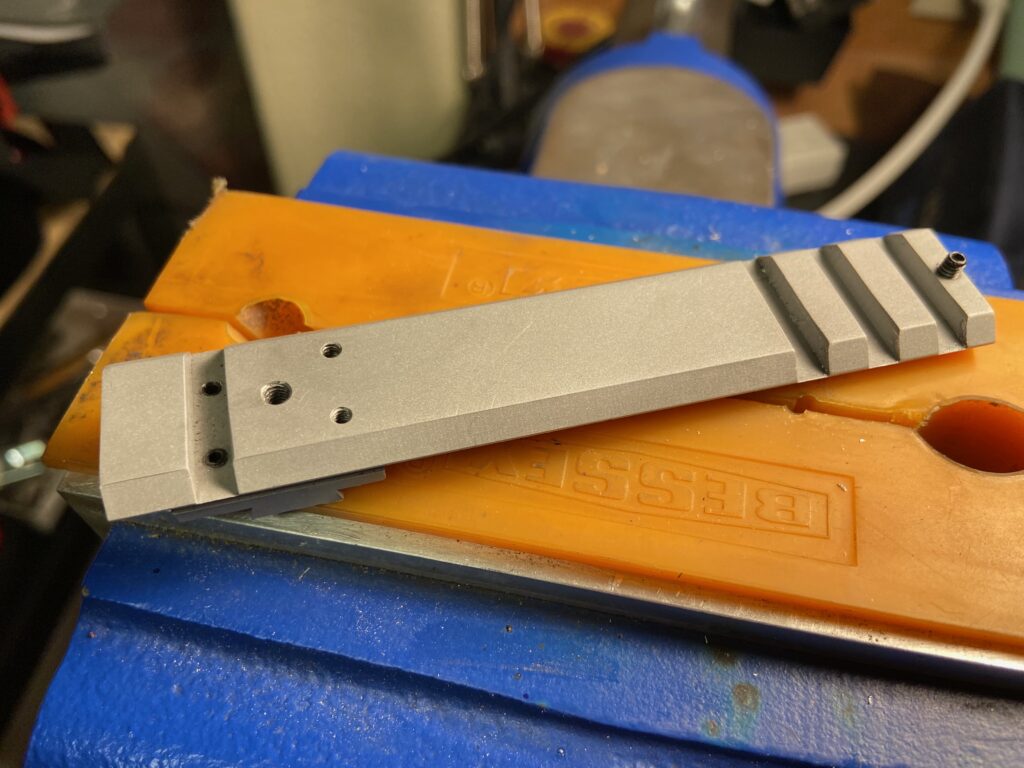
I cut the dovetail and used the 45 degree chamfer cutter to make the horizontal cuts that form the rail. It’s not precisely a Picatinny rail, but pretty close, so I tried to keep the most dimensions close to the drawing.

Both sides of the rail are cut, all holes drilled and tapped, a quick trip to the blasting cabinet and it’s done!
Done? Waaaait a minute…
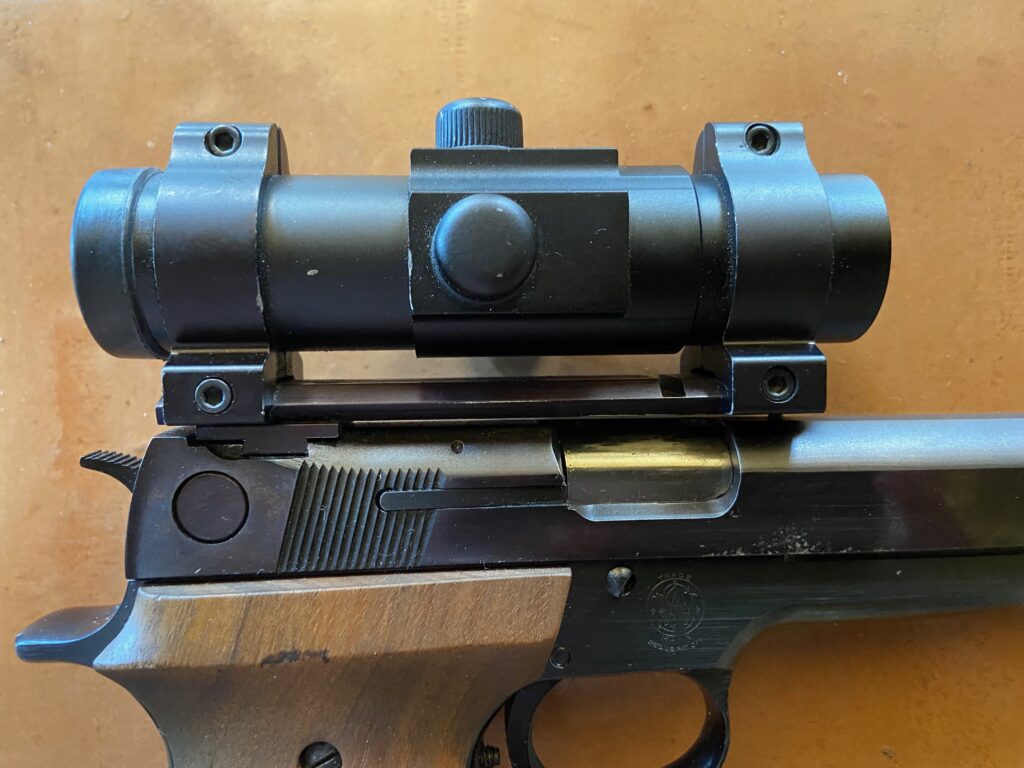
There are six set screws in this setup. One is in the center of the dovetail, four smaller ones are around it and another one is at the opposite end. So I grabbed my set screws box, pulled out some 4-40 and 3-48 screws and tried to screw them in. The four smaller screws went in ok (but still with some effort) and the screw in the dovetail went all the way in and … just got stuck there! Yeah, that dreadful metal galling hit hard at the very last moment. The screw just welded itself in the hole and no matter what I tried – Kroil, heating the rail, using a left-hand drill bit, I could not get it out. Luckily, I was able just to drill it all the way through and recut the threads, then I used some lube before I started the new screw and it went in ok.
Now it’s done, but I still need to fit it to the slide and finish it with Cerakote or anodizing, haven’t decided yet. But it’s here, all hail the rail!
UPD: The single screw at the opposite end of the rail should be nylon-tipped, so that it doesn’t mar beautiful S&W finish – but I couldn’t find any suitable screws with nylon tips, so I just went ahead and made one out of a regular set screw. I drilled a dimple at the tip of the screw and glued a tiny piece of the 3D printer filament. It’s not nylon, to be specific, it’s PLA+, but it will do.
If you can’t buy ’em, make ’em!