
Warning – this post is full of geek technical terms, abbreviations and computer commands which, if read backwards, can open the gates of hell! Proceed at your own risk!

My brand new RaspberryPI is here! What a cute little computer it is! I’m very impressed! And excited 🙂
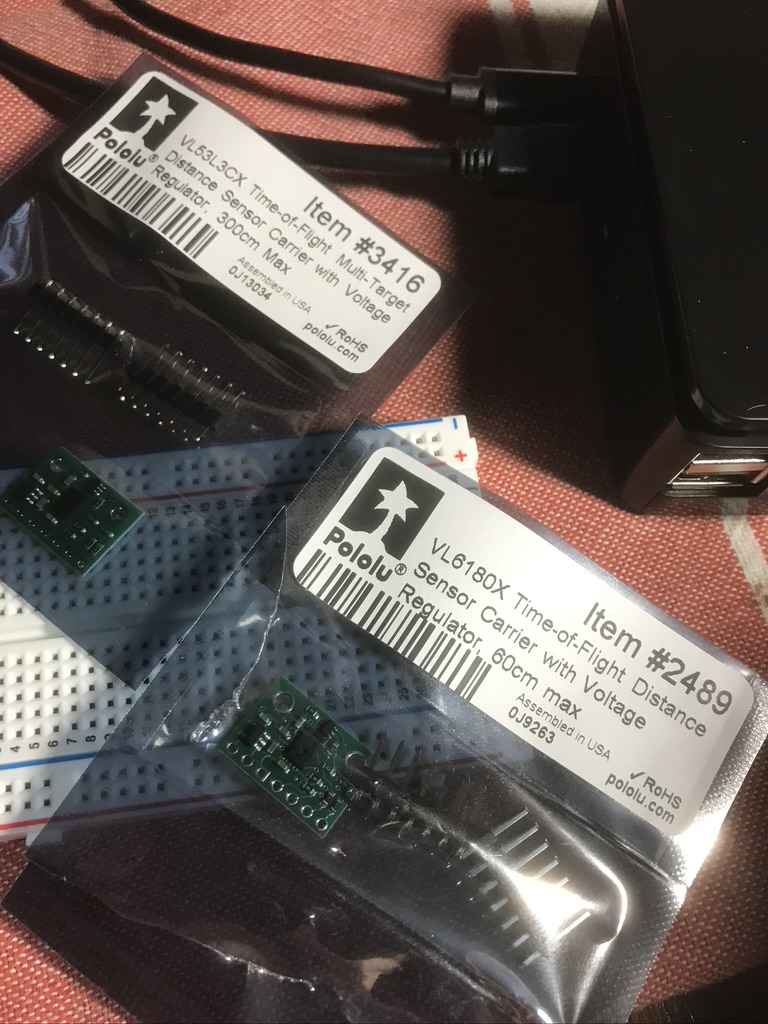
I ordered a model 4 with 8Gb RAM and 128Gb MicroSD card on Amazon, but this is only for the prototyping, of course, the production versions won’t need that much resources. I also got some jumper wires, breadboards and two sensors carriers from Pololu, VL53L3CX and VL6180X, I want to try them both and see which one works better. They both have voltage regulators on board, so they can be used with RaspberryPI 3.3V bus.

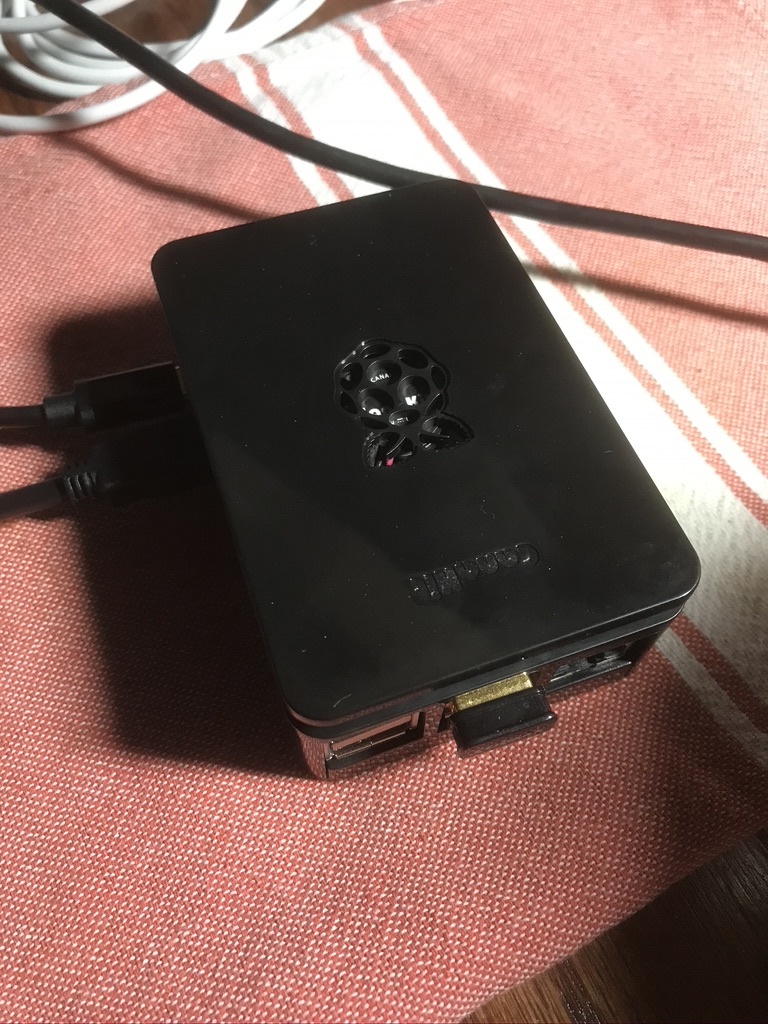
The initial setup was pretty trivial, I just followed the instructions and installed Raspbian onto the SD card and after reboot updated the packages to the latest versions. The VNC server comes with Rasbpian OOB, so I just enabled it.
My plan is to have an ad-hoc network for each target and its tablet screen, but I also needed to keep the internet connection for now, so I grabbed a spare USB WiFI adapter, the RaspberryPI recognized it immediately and set up as wlan1, so I could reconfigure wlan0 to be an ad-hoc network.
The following commands are for the alibi shooters only is an example of how to reconfigure the default wlan0 interface:
# sudo wpa_cli terminate# sudo vi /etc/network/interfaces
auto wlan0
iface wlan0 inet static
address 192.168.10.1
netmask 255.255.255.0
wireless-channel 1
wireless-essid AirgunTarget1
wireless-mode ad-hoc
# sudo vi /etc/dnsmasq.conf

interface=wlan0
dhcp-range=192.168.10.10,192.168.10.255
domain=prgc_indoor
address=/airguntarget1/192.168.10.1
My network will have the address 192.168.10.1 and the DHCP clients pool will start from 192.168.10.10.
I connected my iPad to the AirgunTarget1 device network and then used the VNC Viewer client to connect to the RaspberryPI screen. Everything worked as it should! Now on to the most interesting part – connecting the sensors and reading the data!
To be continued…